Quick and Easy High Pass Sharpening Tutorial

 The High Pass Sharpening Filter is an excellent quick and easy trick for when you want to add some sharpening to photos that may not be as much in focus as you would like. In this tutorial, I will we be showing you the easy steps to this Photoshop trick.
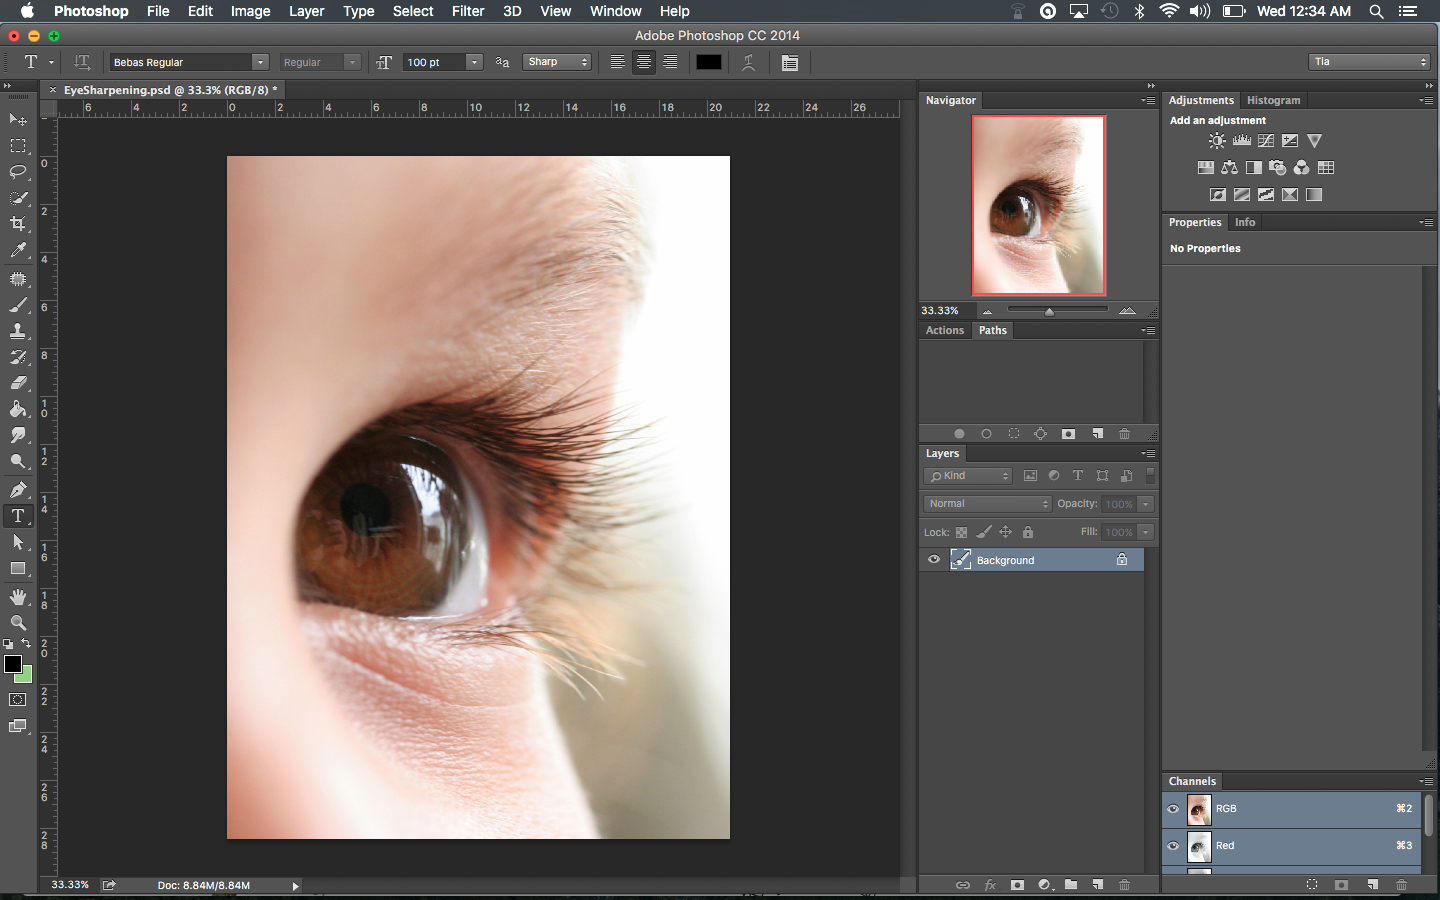
- Open your photo in Photoshop.
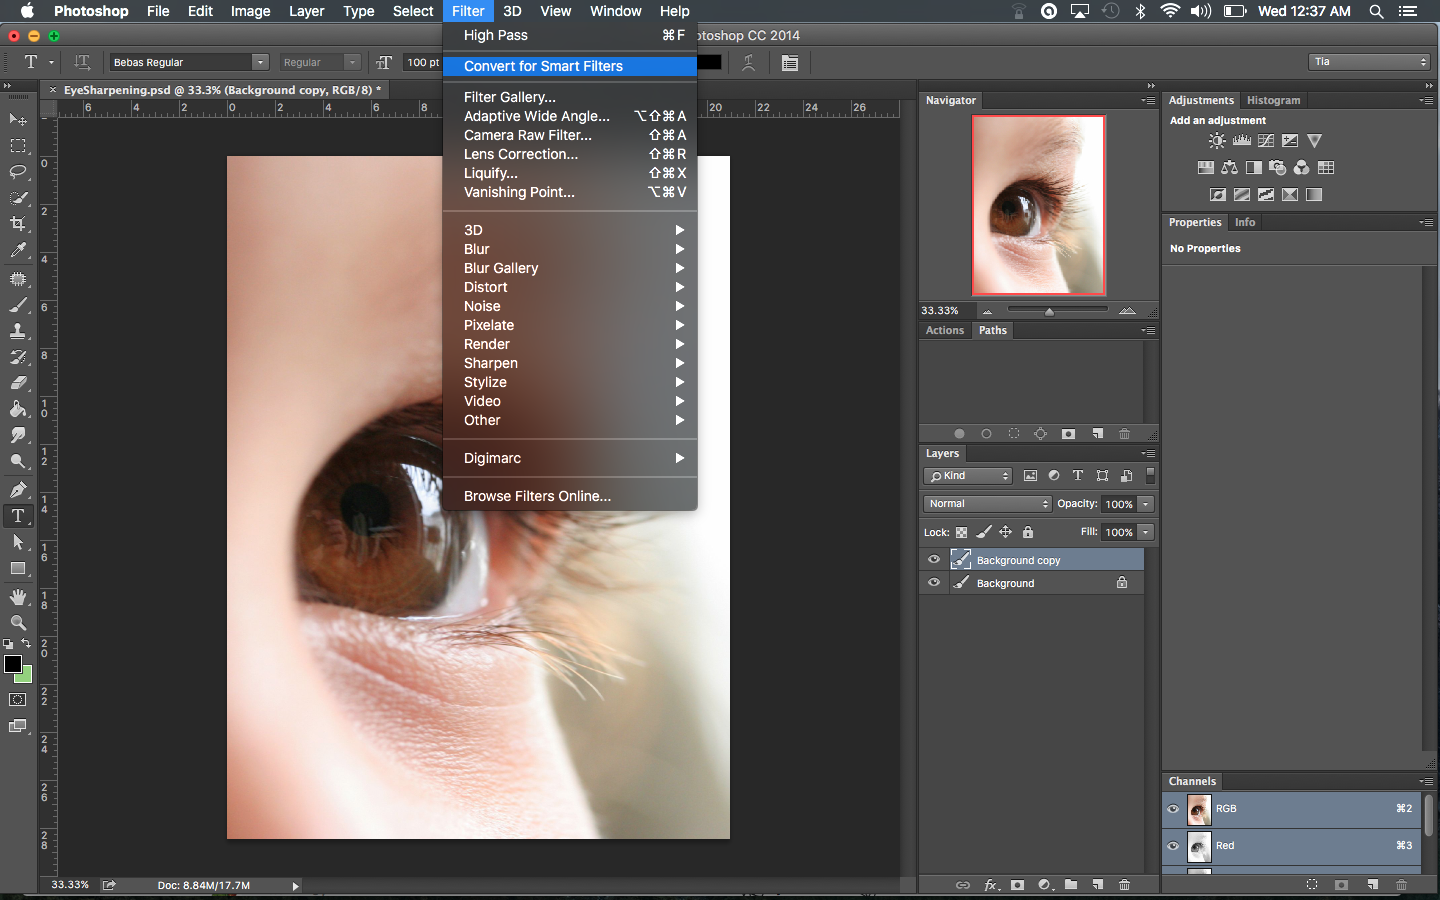
- Duplicate the background layer. You can do this quickly with the Command J shortcut or by dragging the Background layer onto the New Layer icon in the Layers Panel.

- Turn the Duplicate Layer to a Smart Object.
- On the new Duplicate Layer add a High Pass filter. Do this by going to Menu bar and selecting Filter > Other > High Pass. Drag the High Pass slider to the right as much as you would like. The further right you drag the slider the sharper or more HDR it will look. (I normally don’t have to drag it past 10.0)


- Change the blending mode of the High Pass Layer to Soft Light. (Most use the Overlay Blending mode, which is fine. I just think Soft Light has a slightly smoother effect.) Adjust the Opacity of the High Pass layer until you get the sharpness you are happy with.


*Quick Tip: You can duplicate your High Pass Layer to add more sharpness.
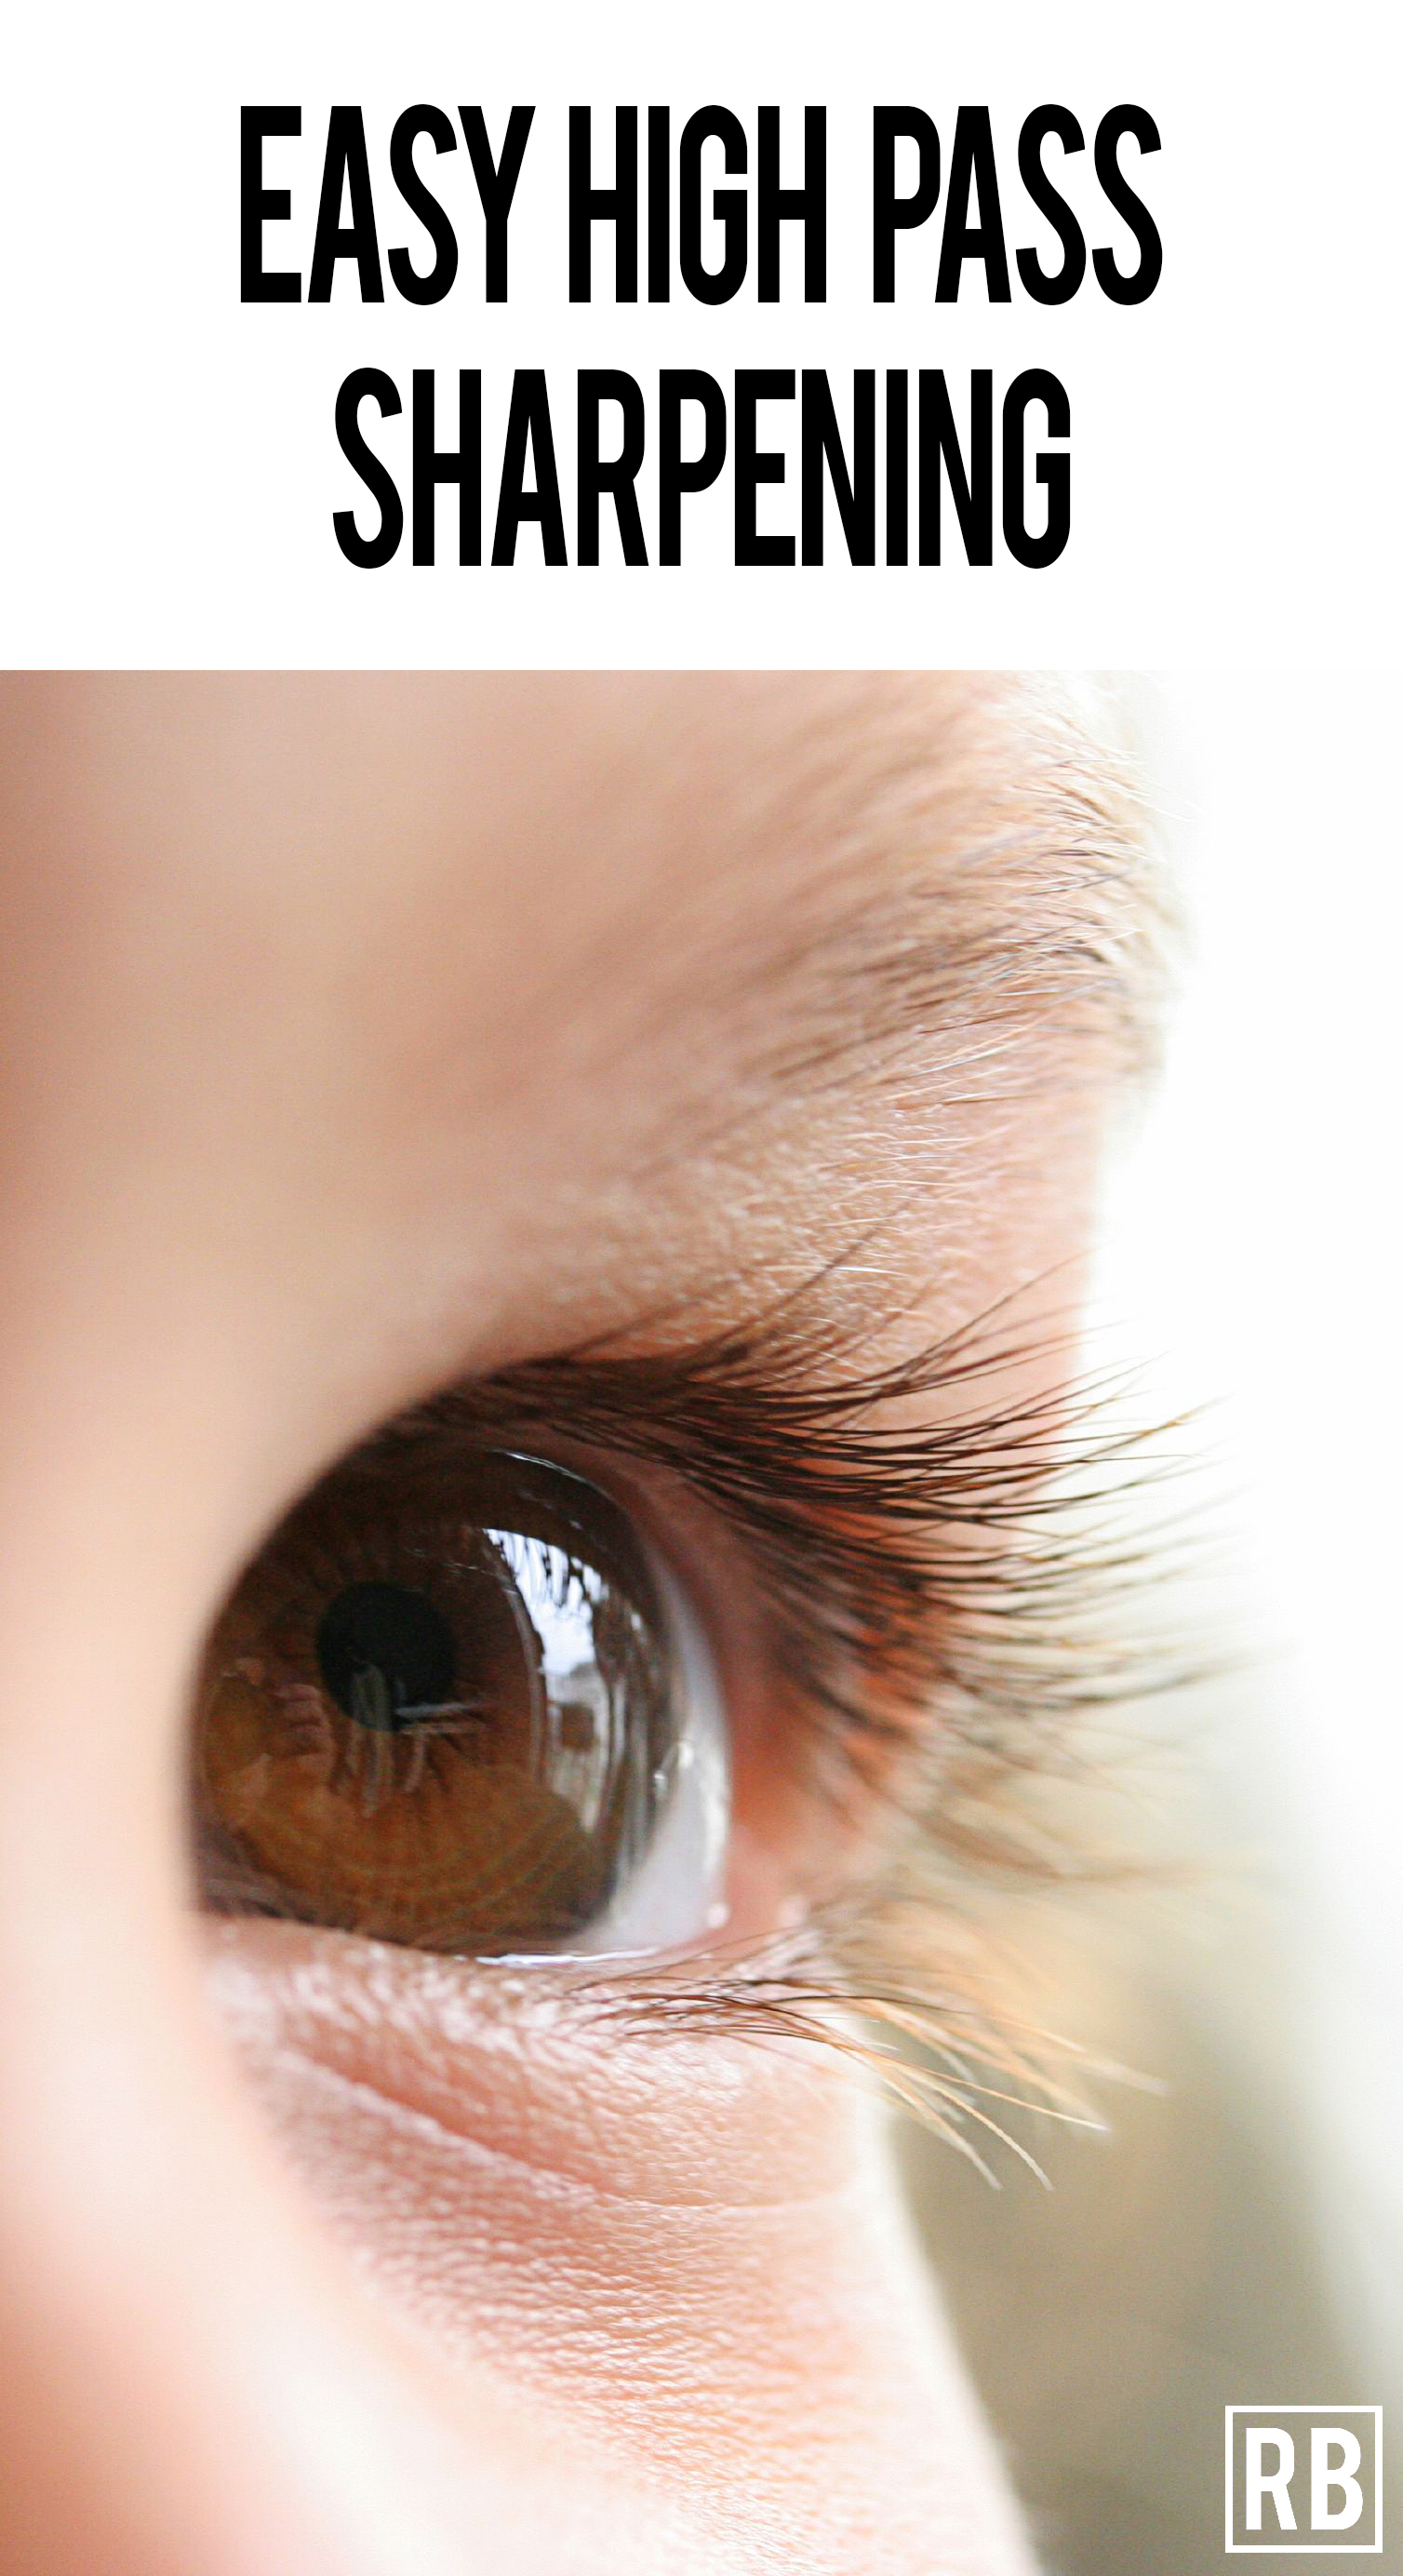
Image Credit by peasap
If you found this post helpful or want to share some tips and tricks of your own, please comment below or shoot me a message on my contact page! Make sure you share this post with your friends as well. Also, if you have practice work you want me to see, feel free to tag me to your posts on Facebook or Instagram. Thank you!