How to Create a MoodBoard in Photoshop

Collage templates can be super useful for so many different types of projects. Whether you're wanting to create a photo collage or moodboard, a collage template can make your workflow easy and quick. But how do you create one? In this post I will walk you through how to create a simple collage template in Adobe Photoshop.
There a multiple ways you can create a collage template in Photoshop. I'll show you two ways I create templates: Layer Group Method & Shape Tool Method. I prefer using Layer Groups because it helps maintain an organized workflow. However, both are great ways to approach collages depending on how much editing you plan to do to the images in the document. You can download the FREE templates at the end of the post.
Layer Group Method:
For this approach, you will be creating Layer Groups for each section of the collage and then adding the image layers underneath each layer group.
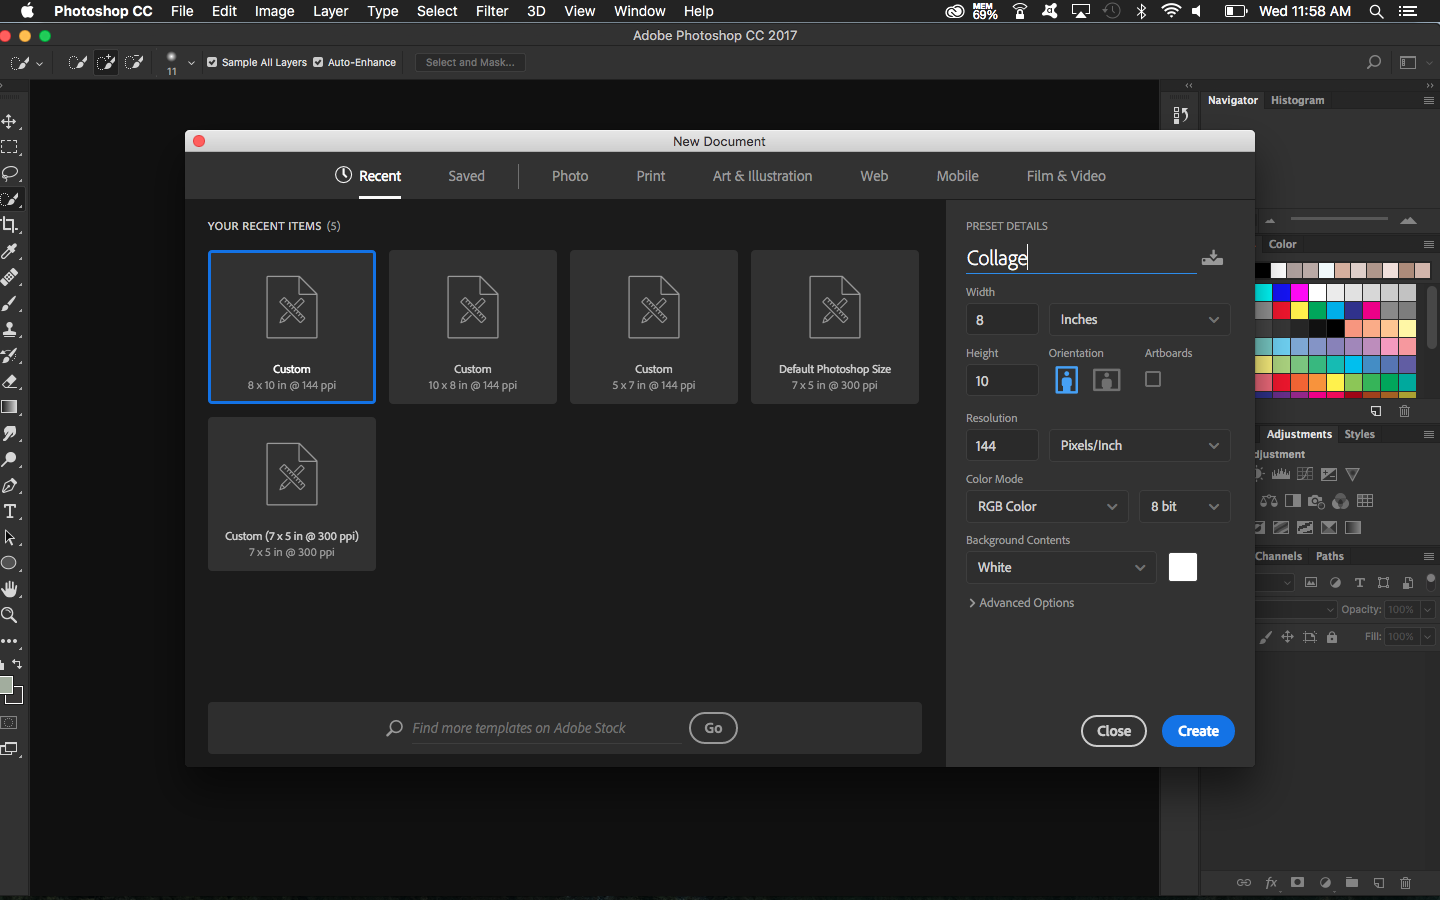
1. Create A Blank Document
Go to File> New. In the New Document dialogue box choose your heigh, width, and resolution of the document. If you are creating the collage for print, you would want to go by the specific document set up for the type of print you are doing while minding the bleed, margins, and other print elements. I’m going to do this tutorial on 8x10 in document.
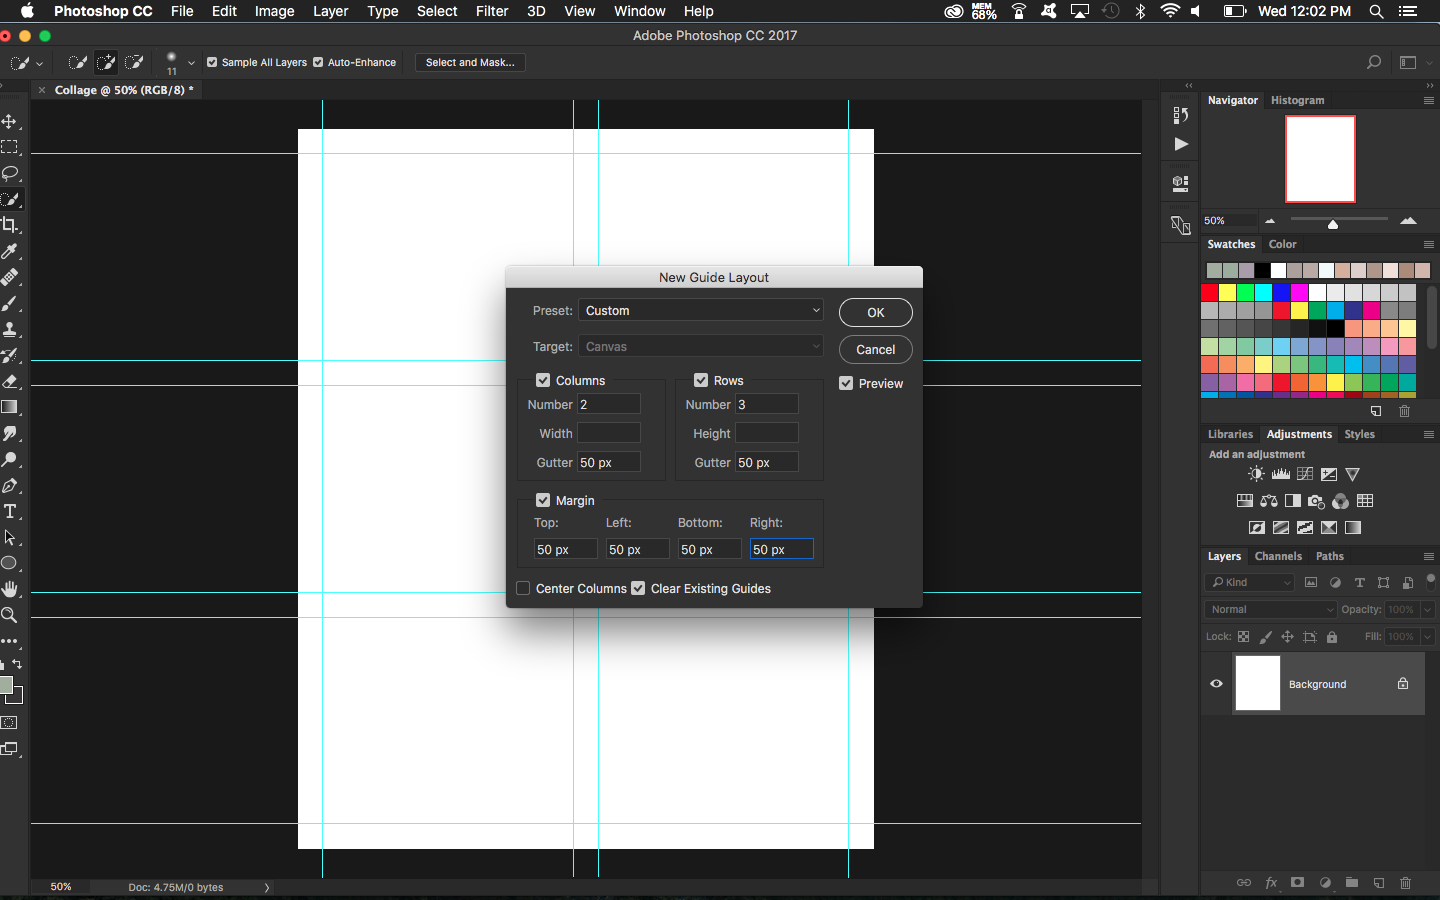
2. Plan the Layout with Guides
While you can certainly free hand your collage, I prefer using grids and guides to help me with precision. Add guides by going to View> New Guide or View> New Guide Layout. Let make this easy and click New Guide Layout. In the dialogue box that pops up, enter the amount of rows and columns you want for your collage and click OK. Now you have a grid layout with the sections of your collage.
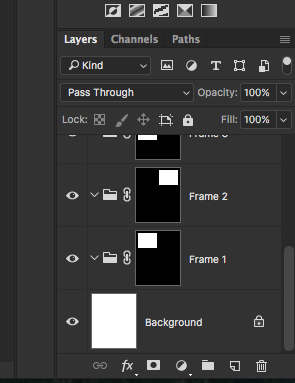
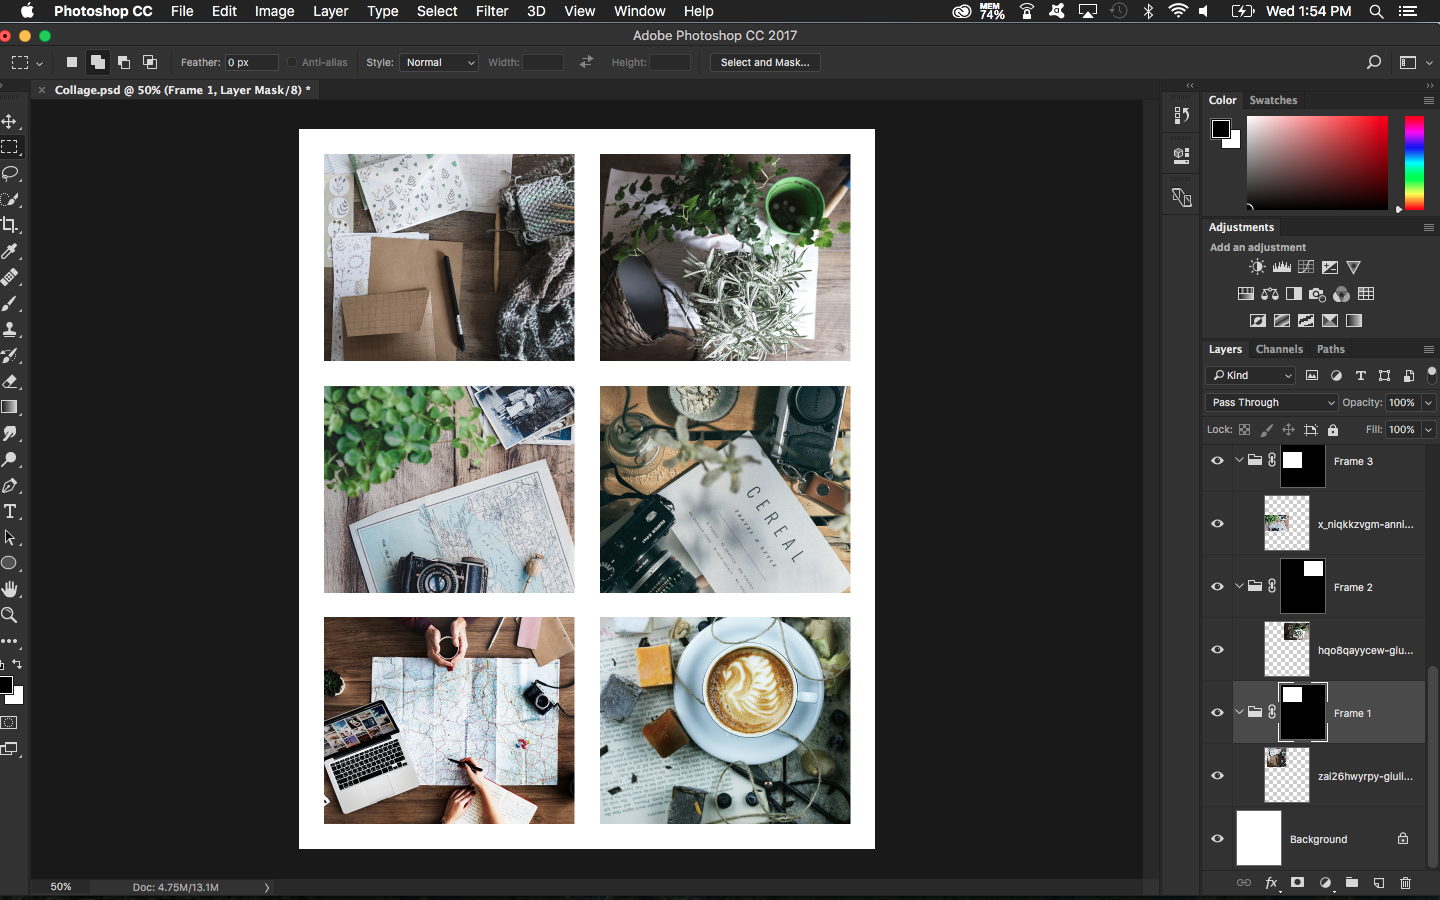
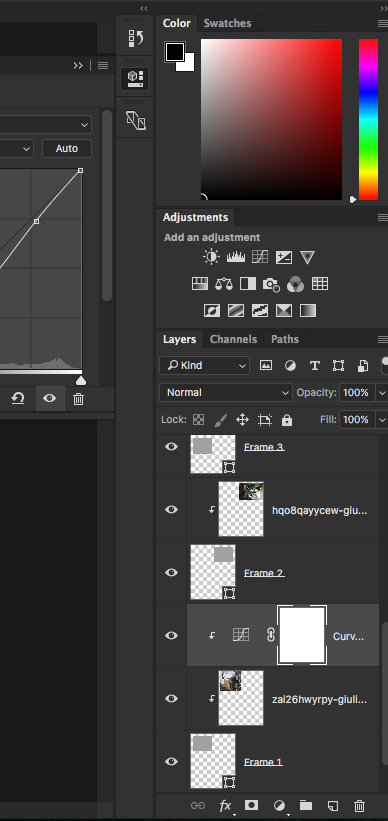
3. Create Groups for Each Section of The Collage
Create a Layer Group for each section of the collage. Since my collage has six boxes, I will create six different Layer Groups for each collage section. Label each group. For this tutorial, I renamed each group as "Frame #"
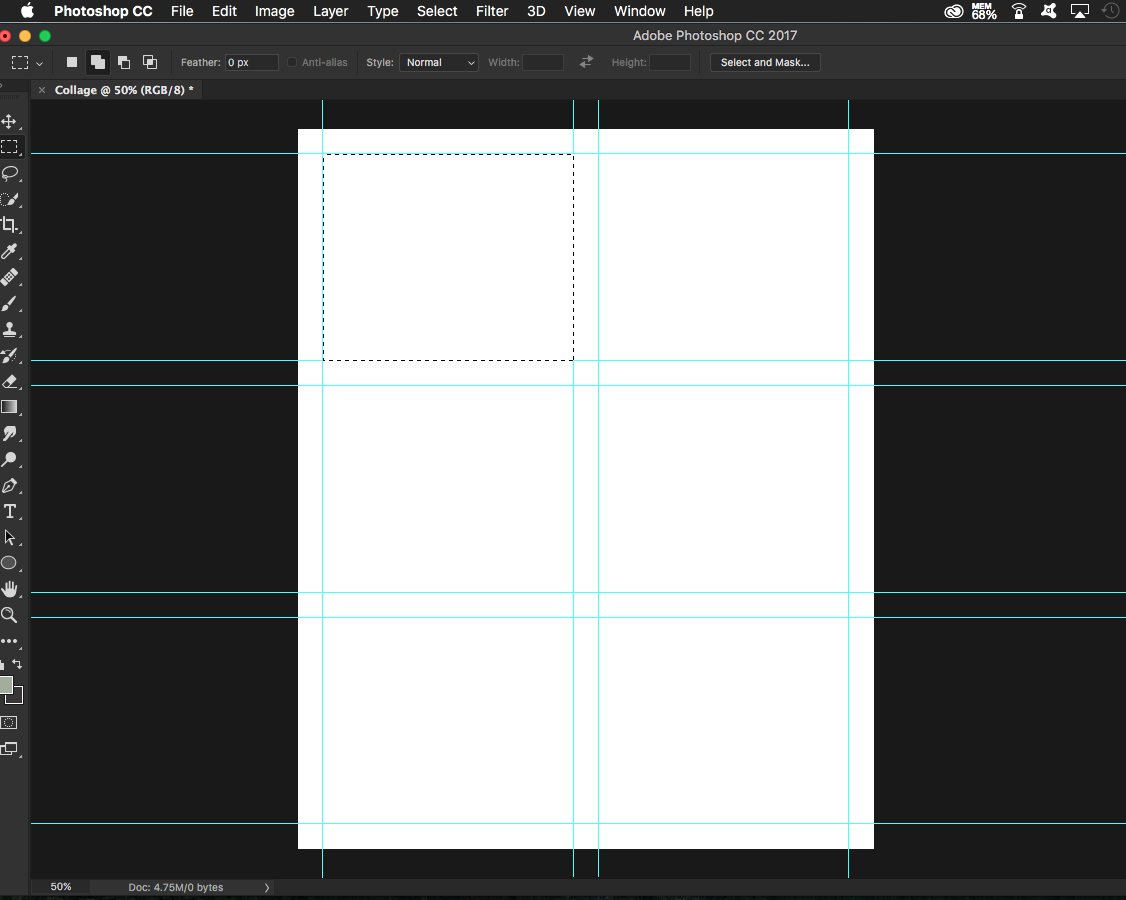
4. Make Selections of Each Section
Grab the Rectangle Marquee Tool (M) and make a section with the tool. Now go to a Layer Group and add a mask from the selection. Repeat this step for each section.
5. Add the images to the collage sections.
Bring your photos into the Photoshop Document by going to File> Place Embedded. Select one or multiple photos to add to the document. The photos should load into the document one separate layers. Make sure each photo has its own layer.
Note: You may want to do one by one if you have a ton of photos to add. And remember, labeling the photo layers will always help.
6. Place the each Photo Layer under a Section Layer Group.
Click an Image Layer and drag it into a Collage section Layer Group. Repeat for each image layer.

7. Reposition, Edit, and Adjust Photos as Needed
With the Move Tool, you can reposition or resize the photo layers however you want. Be careful with resizing, however; keep resolution in mind. If you must resize I recommend converting the Layer for Smart Filters. You can also edit easily each image within the section. With each photo within a layer group, it is super easy to edit each image with Adjustment Layers and additional layers without having to deal with clipping masks and what not because all adjustments will remain confined to the mask of the entire layer group.
Note: Convert a layer for smart filters by going to Filter> Convert for Smart Filter
8. CLEAR THE GUIDES.
When you're all done clear the guides by going to View> Clear Guides.
Vector Shape Method:
With this approach, you will create vector shapes with the Shape Tools instead of Layer Groups. Then you will be adding the image layers to the document and clipping each image to a vector shape layer. For details of the first two steps of this method, reference to the Layer Group Method above.
1. CREATE A BLANK DOCUMENT
2. PLAN THE LAYOUT WITH GUIDES
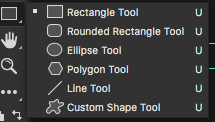
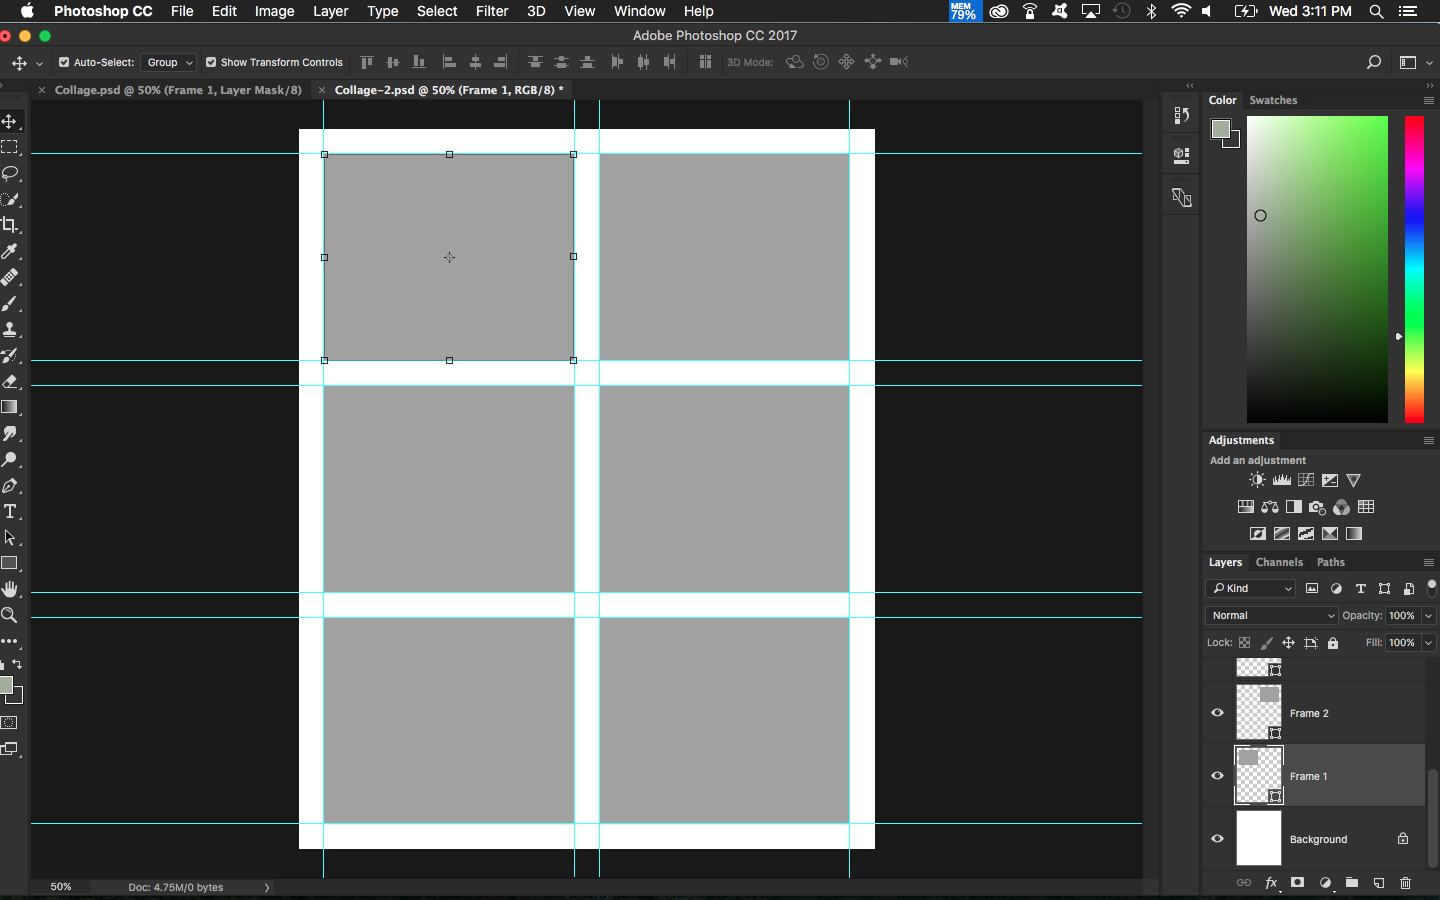
3. Create a Vector Shape For Each Section
Grab the Rectangle Shape Tool (or the other vector tools depending on the shape of your sections) from your toolbar, and click and drag it to fit the section of your collage guide. The rectangle should automatically snap to the guide's edges as you create the shape.
Note: If each section is the the same shape and size, you can easily duplicate the first shape and place it in the new section with CMD+J
2. Place your images inside the Photoshop Document
Just like you would do in the Group Layer Method above, bring your photos into the Photoshop Document by going to File> Place Embedded. Select one or multiple photos to add to the document.

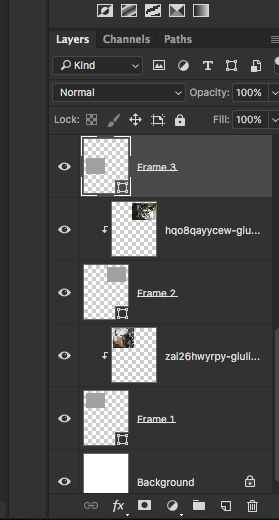
3. Attach an image to each vector shape/section by Clipping Mask
Attach each image to a separate vector shape. Drag the image layer directly above the shape layer/section you want it in. Then right click the image layer and select Clipping Mask.
4. REPOSITION, EDIT, AND ADJUST PHOTOS AS NEEDED
You will go about this step the same as I explained in the Group Layer Method above. The only step that is slightly different here is if you are using additional layers (including adjustment layers) to edit each image. You will have to make each new editing layer a clipping mask above each shape+image layer. I don't prefer this method simply because it can get a bit disorganized and confusing for me. However you could still turn each section into a group if you want.
5. Clear the guides.
When you're all done clear the guides by going to View> Clear Guides.
“Is there a certain method you’d prefer for creating Photoshop collage templates?”